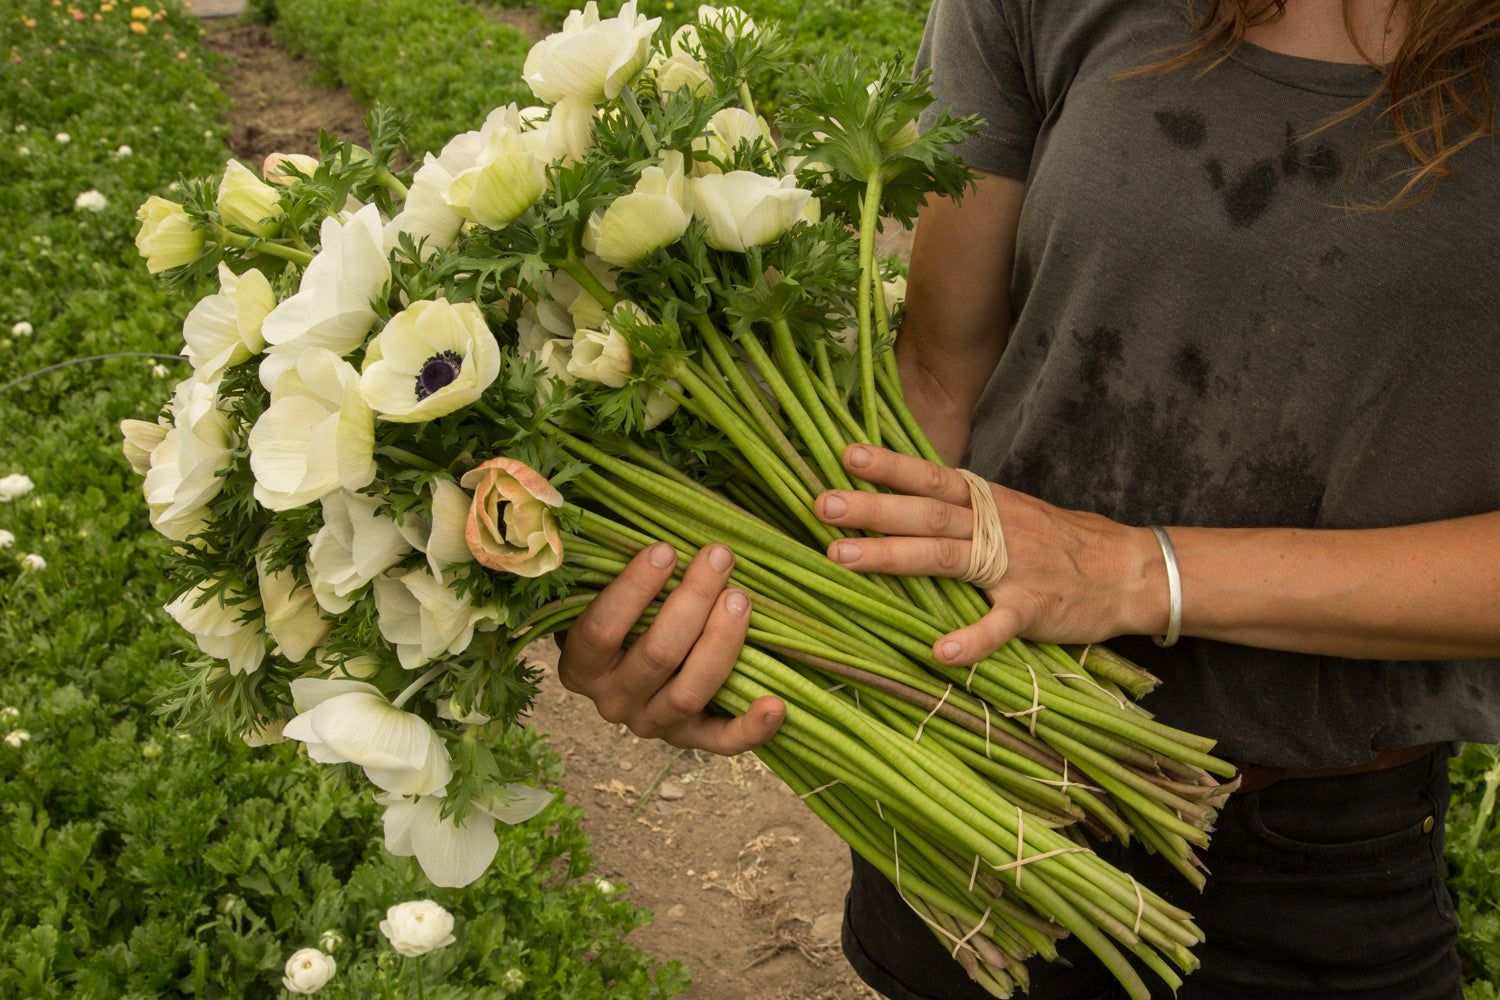
Anemones often occupy an underestimated place in people's hearts because we rarely get the chance to appreciate their beauty. They are very popular in Europe where they are always found at public markets in season. They have a unique charm and their little turtlenecks of leaves absolutely make me fall in love every time!

The most important thing to know about anemones is that they need cool air. Their ideal growing temperature is around 10°C. They are native to a Mediterranean climate, so too hot a temperature will stop them from growing properly and flowering. The critical heat threshold for anemones is around 24˚C sustained for a few days. Under such conditions, they will stop growing and flowering altogether.
For years it was believed that they had to be planted in spring in our latitudes because the soil drops to a temperature colder than -4˚C and that this would be fatal for them. However, we are currently conducting tests that prove the opposite. Certainly our winters are less and less harsh than before, but still. Our anemones planted in November have survived several nights at -20˚C and even one at -30˚C. Of course, they are not planted directly outside but rather in a cold tunnel (2 layers of blown-in polyethylene) and covered with 2 floating row covers (p19). During the night at -30˚C, we installed two small electric heaters under the floating row covers to maintain a minimum of heat. It was -12˚C under the row covers for several hours. They are doing wonderfully after these harsh trials, which leads us to believe that planting in the fall is possible in Quebec, provided they are given a minimum of protection.
The tests are not yet complete and therefore we cannot conclude anything at this time, but it is very promising for the introduction of a new approach in a northern climate and thus obtain a prolonged and more abundant harvest.
Our classic method, on the other hand, is that we plant them very early in the season so they have time to grow and flower before the sustained heat of summer arrives. As with ranunculus, we grow them in cold tunnels so we can plant them in mid-February, when the ground outside is still frozen but not inside the tunnels. Planting ranunculus and anemones is similar, but anemones bloom earlier than ranunculus. Planting them is the first active task of the season, the one that wakes our bodies from the winter months and makes us tingle with joy at welcoming spring again.
 Growing anemones isn't the easiest thing to do. BUT! I'm going to break it down and explain everything step by step. Anyone can do it and enjoy the magic of growing anemones themselves!
I explain the process for two different techniques, namely mass cultivation for cold tunnel production and for growing in pots at home.

Soaking (6 hours):
Whether you're growing anemones in a cold greenhouse or in pots, the first step is to soak them. First, group the corms by variety and place them in tulle bags, or any other perforated fabric so that the watering water can drain away. Put about a hundred corms per bag so they're not too crowded, then soak them for 6 hours in clean, lukewarm water. They will double in volume during the process.
If you ever get stuck and need to make them wait a little longer, take them out of the water and simply keep them constantly moist. They are not aquatic plants and will no longer be viable if you forget them there.

For cold tunnel cultivation:
There are two options: plant them directly in the ground or let them pre-germinate before planting in the ground.
Pre-germinating corms is chosen a few weeks before the planting date for the sole reason of getting a head start on the season, so they will already be on their way to glory by the time they are put in the ground. Pre-germination is not a prerequisite for growing anemones. If you are growing them in pots at home or, by force, you are planting them in the ground later in the season, there is no need to add this step to the growing process.

Pre-germination in soil (2 weeks):
We only tried the pre-germination method in soil once, a long time ago, when we had a smaller quantity of ranunculus to germinate. Then for several years, we simply did not pre-germinate our anemones before planting them in the ground because it required far too much energy, space and resources for our liking.
- Two weeks before the planting date and after soaking, plant the corms in trays between two layers of potting soil.
- Place the trays in full sun.
- The room temperature should be around 10-15˚C.
- We irrigate adequately according to the level of sun exposure and the level of aeration, that is to say, we let the top of the soil dry out superficially between waterings. We want the soil to be moist but never soggy.
- Once the roots have reached the bottom of the cell, it is time to plant them in the ground.

Bare pre-germination (4 weeks):
Two years ago, we came up with another way to pre-germinate anemones that requires significantly less energy, space, and resources than the soil method. This bare method, however, takes a little longer.
- After soaking, the bags of corms are placed in perforated boxes (so that the watering water can drain) and then stacked in the cold room where it is dark and the temperature is permanently 4-5˚C.
- We water them with a hand-held watering can every other day to keep them moist (the floor is concrete with a drain in the center) and make sure there is no mold.
- After 4 weeks, the roots are clearly visible. It's time to plant them in the ground. Handle the anemones with care because their small roots are fragile.
And there you have it! This minimal-care technique allows us to pre-germinate up to 10,000 anemone corms in the equivalent of 56 cubic feet, heated with a single small heater, instead of requiring 2,700 square feet of heating with a large propane system with the soil method for the same number of corms.

Planting in open ground:
Whether pre-germinated or not, the process for planting in the ground is the same. Combined with a cool temperature, rich, well-drained soil is a major asset for the quality and length of the flowers to be born. Our permanent beds always receive a pass with a broadfork , a good dose of compost every other year, and a light annual addition of balanced organic fertilizer. All this, gently incorporated into the soil.

We then mark out 5 rows with small removable markers (easy to make yourself) placed on a rake specially designed for preparing permanent 30-inch-wide beds. Next, the corms are planted (tips down) in a staggered pattern across the rows, 6 inches apart and 2 inches deep. Once planting is complete, they must be covered with soil, watered well if necessary, and the beds covered with a floating row cover to protect them from the last night frosts. Finally, it is essential to ensure at all costs that the temperature remains relatively cool (around 10˚C) for the rest of the plants' growth and flowering time.

Once plants are well established, aphids can become a significant pest. To prevent them from settling in, we usually introduce beneficial insects as a preventative measure, in this case parasitic wasps, which are responsible for giving them a hard time!

Planting at home and preserving corms:
- Corms are sold dry and at this stage they are full of energy. As soon as we receive them, we soak them in clean water at room temperature for 6 hours, then we plant them in pots, tips down. We place the pot in full sun, keep the temperature around 10 to 15˚C as much as possible and water adequately (until stage number 3). (spring)
- When temperatures warm up and a few leaves have emerged from the pot (April), transplant the anemones outside with a light protection for particularly cold nights. You can choose to grow anemones in pots throughout the season, but transplanting them outdoors gives better results.
- The corms develop and then transform their energy into foliage as well as flowers.
- When the flowers fade, they are removed. Through photosynthesis, the foliage will then serve to transform sunlight into energy that will be stored again in the corms so that they can flower again next season. (summer)
- When the foliage fades in turn, it can then be cut. At this stage the corms are full of energy and fall dormant. (autumn)
- It is then time to dig up the corms to clean them of any remaining crop debris. They are then dried in a shady, warm, and dry place for 2 or 3 days or until they are completely dry.
- Store them in a dry, frost-free place until next spring. Check from time to time that no mold is forming. (winter)
- Go back to number 1!
I'm a visual person, so for those who are, here are two graphs that illustrate the anemone growing cycle:
Cycle of anemones grown in a cold tunnel and treated as annuals:

Cycle of anemones grown at home or preserved:


Regardless of the planting technique, keep in mind that sufficient ventilation between plants will prevent the formation of fungal diseases. Under these conditions, anemones will take about three months to bloom and will flower for between two and four weeks. The vase life of anemones is about seven days, but for this, they must be harvested at the stage when the petals are just beginning to open.


10 comments
Bonjour Nancy!
En effet ce sera un peu compliqué de faire pousser adéquatement des anémones sous ces conditions. Il leur faut absolument un bord de fenêtre pour la lumière, elle en ont besoin autour de 10h par jour, mais jamais plus que 12h. Souvent les bords de fenêtres sont justement des endroits plus frais. À vous de voir si vous avez des (trop) bonnes fenêtres!
Bonjour et merci pour ces précieux conseils. Juste pour bien comprendre, vous déterrez les cornes après la floraison? Donc, vous ne pouvez pas les replanter l’année suivante, étant donné qu’elles n’ont pas pu emmagasiner assez d’énergie (j’imagine que c’est parce que vous avez besoin de la serre pour d’autres cultures…). Et nous, avec la culture en pot, nous pouvons les gardez en terre jusqu’à l’automne, si nous voulons essayer de les faire refleurir l’année prochaine… C’est bien ça? :)
Bonjour! Si pour la culture en pot, je n’ai pas d’endroit dans le Condo entre 10-15 degré est que j’en conclue que je ne peux pas faire pousser d’anémones? Je n’ai pas accès à un garage ou de pièce de vie dans le Condo que je ne peux pas utiliser et donc pas chauffer! Dans la maison les espaces de vie sans soleil direct sont environ 20 dégrée (orientation nord/est) et ceux très ensoleillés direct sont environ 25 degrés (orientation sud/ouest). Merci!
Bonjour Valérie!
Pour la culture en pot comme pour la culture en tunnel froid le facteur le plus important et décisif est la température. Il faut que les plants soient à une température tournant autour de 10-15 degrés. C’est ce facteur qui vous indiquera si vous les mettez en pot à l’extérieur ou si vous les conservez à l’intérieur.
Merci pour ces précieux conseils. J’ai mis mes cormes à tremper. On verra si je serai plus chanceuse cette année. Question: une fois qu’on les met en pot, on les met au soleil à l’intérieur ou extérieur? Si extérieur on les entre la nuit ou pas si ils sont en pot? Également si je fais germer 4 sem et que je les mets en pot par la suite (donc fin février) quand peut-on mettre les pots à l’extérieur? L’an dernier j’ai eu des feuilles et de mini fleurs mais le reste a pourri. Je pense que j’ai commencé trop tard. Bref merci beaucoup pour votre aide.